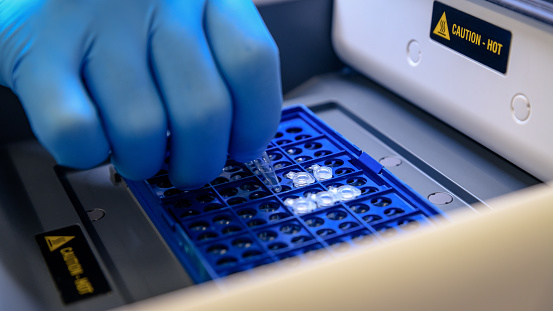
 When I was in college, I enjoyed reading about Chindogu, which literally means “weird tool” in Japanese. The whole point of Chindogu was to make hilariously “unuseless” objects, somewhat like a tool that you might use, but wouldn’t actually buy because it was so absurd. An example of such absurdity is this Hay Fever Hat, and there are countless others that I would recommend you read and laugh about. Although Chindogu are essentially impractical devices meant for laughs, I got to thinking about how I MacGyver’d through graduate school in repurposing equipment and designing new ways to make my lab life easier even as our funding dwindled. Known affectionately as lab hacks, I’m sure you can find some of these on the internet, but I’ll share some of my favorites here.
The Incredible Versatile Binder Clip
The intended purpose of the binder clip is to hold papers together, but with a little imagination, this simple metal consumable can be used to secure and hold lab equipment as well. In the ancient times, binder clips were used to hold sequencing gel sandwiches together, but even now they can be repurposed as flexible handles and fasteners. Among the functions I’ve seen and done myself:
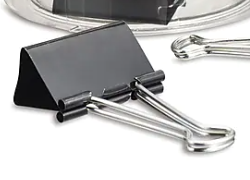 Clip to your lab shelving to secure Kimwipe boxes
- Overhang the two “wings” of the clip to also serve as discount pipettor holders
- Useful for hanging protocols overhead (keep them safe from spills) as you perform experiments
- Duct tape your timer to the clip “wing” and clip it to your shelving
- Duct tape a magnet (you probably got some from trade shows, including from ABclonal!) to the binder clip to make a custom refrigerator magnet
Binder clips are fairly plentiful (especially if you make friends with the office staff), and are way less expensive than a dedicated pipet stand or even specialty chip bag-style clips.
Rubber Bands Are Awesome Too
At some point or other, you’ve had to use a shaker, vortexer, or belly dancing platform to agitate your reagents or experiments. Sometimes the ideal fastener is not available, so a rubber band or two can do the trick! In combination with the binder clip or tape, rubber bands can also help you secure your writing implements near your work stations so they don’t wander off into the ether.
The Tube Rack Does More Than You Think
Their primary purpose is indeed to hold tubes of various sizes, but in concert with a shaker or vortexer, tube racks can be much more versatile than you previously thought! Coming in a variety of sizes and formats, and often available for the taking when labs move or close, you can use these racks for a plethora of functions:
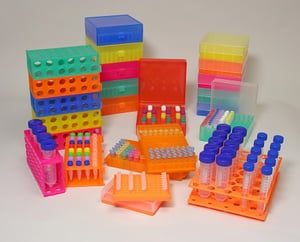 If you need to incubate your samples in a water bath, the container (whether it be microfuge tubes or a 50-mL tube) can be secured in a tube rack of appropriate size. To prevent tubes from floating away, I often put a small weight on top or just tape the tubes into the rack.
- Wedge the tube rack into the grooves of the plate shaker to agitate many samples at once.
- If you have multiple minipreps to process, arranging them in racked format allows you to organize the workflow, as well as to just put your hand around many tubes and invert the whole system rather than one at a time.
- Stacking the tube racks, especially those that interlock, can create the right height platforms for certain experiments that require equipment at multiple levels.
Put a Lid On It!
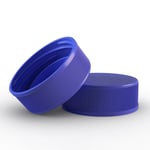 Glass bottles inevitably break (oops) and plastic bottles may need to be disposed of, but their caps and lids are salvageable for a variety of purposes. As manufacturers transition towards more sustainable packaging (yay!), this means we may be seeing far fewer of those Styrofoam molds that hold conical tubes. I used to use those molds to hold my sample tubes. Also, by breaking them off piece by piece, I could use the mold pieces to act as spacers in some equipment as well as handy holders for weighing samples into microfuge tubes on an analytical balance. I found that a bottle cap works just as well to hold the tubes at an angle to facilitate sample addition while weighing.
The Bargain Bin
There is no avoiding certain consumables, especially where sterility and absence of inhibitors and enzymes are required, but for most purposes, you can probably take advantage of your Costco membership, your local Dollar Tree, anywhere that has affordable prices for commonly used goods. Among these:
 Powdered milk as a Western blotting blocking solution;
- Tongs or metal spoons to fish samples out of liquid nitrogen storage;
- Coffee filters or nylon stockings for non-sterile quick filtration;
- Cleaning supplies
- Timers and batteries
- Aluminum foil and plastic wrap (these last for years)
It is also incredible to see what kinds of goodies might get thrown out by a lab when they close down, or maybe from your Howard Hughes investigator neighbor who just got new equipment and need to get rid of their old (but perfectly functional) thermal cycler. My PhD mentor also regularly found used equipment off eBay.
Know Thy Centrifuge
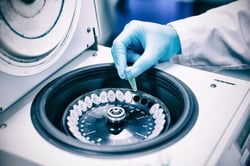 Centrifuges need to be well-balanced or else they can break or even cause massive damage to the workspace. We already talked about racks, and since racks hold tubes, you can set up multiple microfuge tubes containing specific volumes, labeled as such and arranged for quick access in front of your personal centrifuge so you do not have to always make a new balancer. This can also be done for 15 mL and 50 mL conical tubes, and you can set up a dedicated container for larger volumes (i.e. for spinning down bacterial cultures).
Depending on the model of centrifuge, there is usually a safety button that engages when the lid is completely closed and also starts the motor. For quicker access, you can keep the lid open but just push that button to activate the centrifuge, then use a plastic spoon or even your finger to slow and stop the rotor if you’re feeling adventurous. It also helps to always orient your tube within the centrifuge a certain way so you know where the pellet is situated.
Experience is the Best Teacher
As you progress as a scientist, and also learn from others, you will develop cool lab hacks of your own. To further support you, ABclonal has blogs on how to better organize your working space, as well as how to optimize your PCR experiments. Hopefully these will be good resources and jumping points to conjure up your own best practices in both lab hacking and organizing your experimental workflow!


